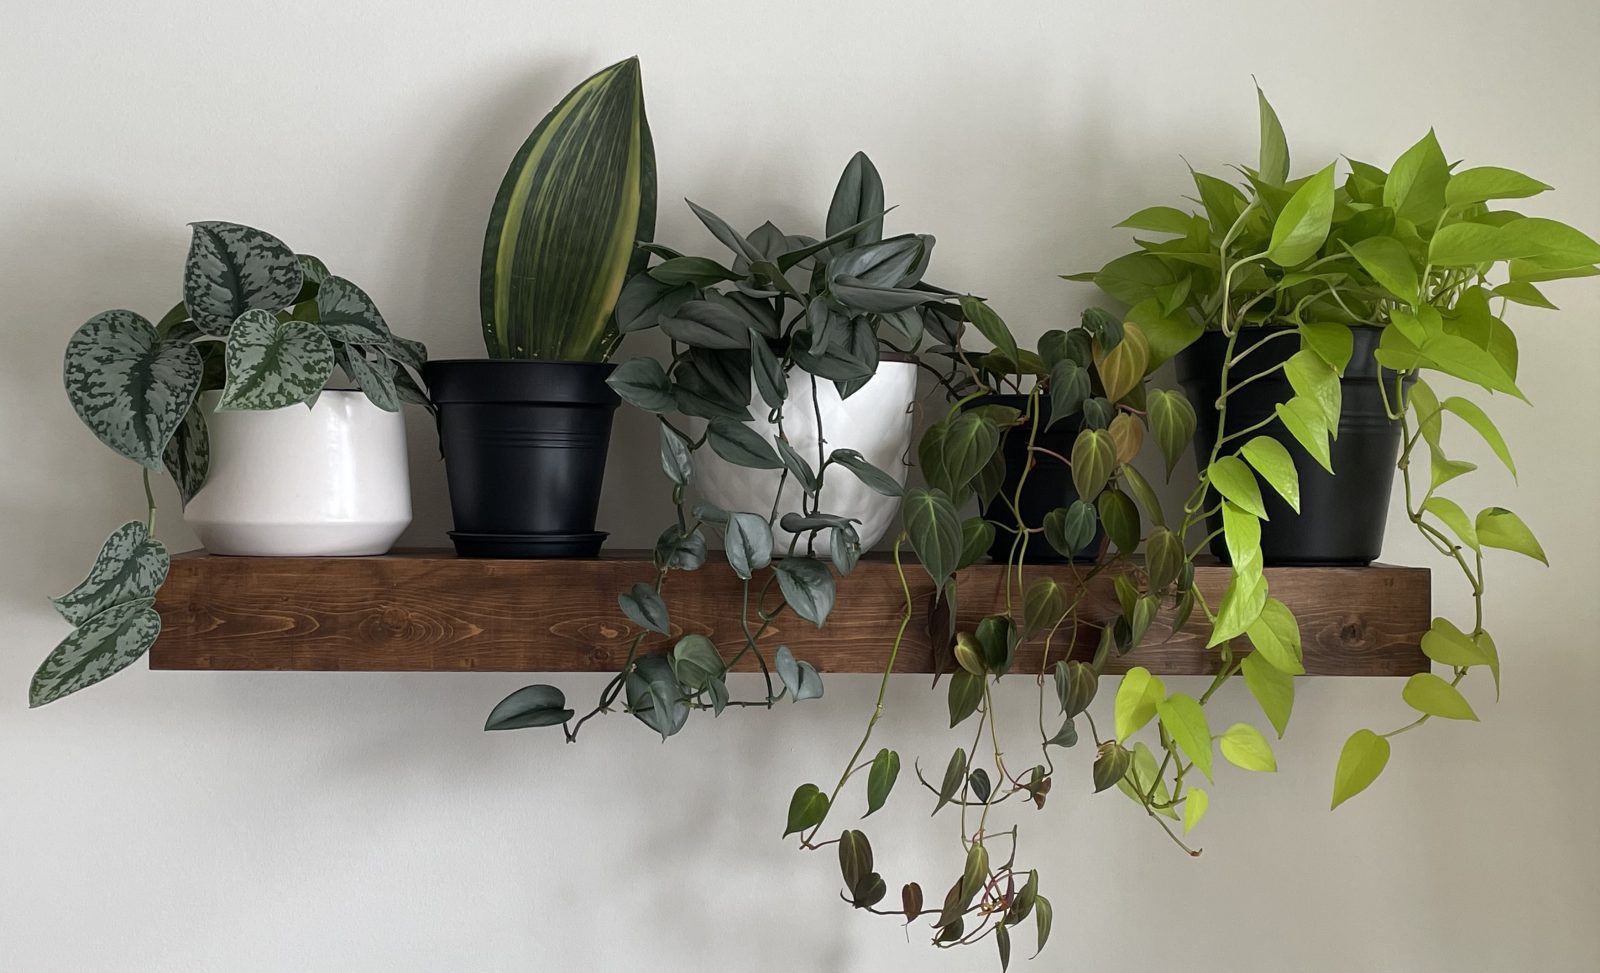
You’ve just bought yourself a new plant. It’s shiny, healthy, has perfect variegation, and livens up that dark empty corner of your living room. But pretty soon, you start to notice leaves falling off, yellow spots forming, and … bugs? What happened to that perfect plant?
There are lots of things that can go wrong with houseplants, and they don’t look perfect all the time. They may lose leaves, grow at a strange angle, or pop out a weirdly-shaped leaf every once in a while. Maybe your plant died and you have no idea why. It won’t necessarily be because you did anything wrong; sometimes it’s just nature showing you who’s boss. But there are some plant care mistakes that you can prevent, and your plants will be happier and healthier for it (and you’ll be happier too). Here are 5 common houseplant mistakes, and how you can avoid them.
1. Overwatering
Overwatering is the number one mistake plant owners make. If you’re guilty of this (and we’ve all done it), don’t feel bad. It’s understandable for plant owners, especially new ones, to want to take good care of their new plant and make sure it grows into a big healthy specimen. But overwatering is one way of showing your plants too much love. Don’t be a helicopter plant parent!
When you overwater too many times, your plant may end up suffering from root rot, and that can be a death sentence. Roots need oxygen to survive, and require well-drained soil with air pockets. When you consistently give a plant too much water, it fills those air pockets and suffocates the roots. They’ll turn black and soggy, then decay; if it goes on too long, the plant will eventually die. Signs of overwatering include leaves that turn yellow and go limp, stems that feel mushy, and soil that has algae or mold on the surface.

Don’t water to a set schedule—no more “pothos on Tuesdays, money plant on Fridays”. Learn what the water requirements for your plant are. Some, like alocasias and ferns, prefer consistently moist soil. Others, like succulents and peperomias, want completely dry soil before being watered. Most houseplants do just fine somewhere in between.
No need to check the plant’s moisture level every day—once or twice a week is plenty. There are a few different methods you can use: measure with a moisture meter, use the finger test, or use a bamboo skewer. I like to use all of these methods, depending on the pot size.
Methods for testing soil moisture
Moisture meters: I find these to be pretty accurate, especially with larger pots. Test the soil in 2 or 3 different spots.
The finger test: Sticking your finger into the soil to see how wet it is really only works well with small pots, where you can feel close to the bottom. If you try this with a larger pot, you’ll only get your finger into the soil so far; it may feel dry in the top couple of inches but still be wet underneath that.
Bamboo skewer: Stick the skewer into the soil as far as it will go; if it comes out with just a light dusting of soil, it’s dry. If there are bigger, wetter chunks of soil clinging to the skewer, see how far up it goes, and you’ll have a good idea of how much of the soil is dry and how much is still wet.

The time it takes for soil to dry out between waterings depends mostly on the plant’s light situation—darker areas take longer to dry, while a higher light spot will make the plant use up moisture more quickly.
If you’re unsure if the plant needs water or not, err on the side of underwatering. A very thirsty plant can be revived pretty quickly with a good soaking, but continually overwatering will eventually kill the plant.
2. Not monitoring for pests
If you have plants, it’s pretty much guaranteed you’re going to have to deal with pests at some point. Keeping an eye on your plants and regularly checking closely for pests will help you discover them at a (hopefully) early stage, before they become an infestation. Always isolate new plants for 1–2 weeks, in a room without any other plants. If the new plant did come home with any critters, you want them contained so you can deal with them before they spread to your collection.
The most common pests you’ll find on houseplants are scale, thrips, mealybugs, fungus gnats, and spider mites. They can lay eggs in soil, on the underside of leaves, or in plant crevices. These areas can all be really hard to see, and by the time you realize you have a problem it may already be out of hand. Check over each plant every time you water it to make sure no pests are hiding. If you find any, isolate the plant while you deal with them.


Pest control treatments
There are different treatments you can use to eliminate pests.. First, use water to spray off any pests clinging to leaves or stems; putting them in the shower or spraying them with a garden hose should blast them right off. You can also spray leaves with diluted neem oil or hydrogen peroxide. The same solution can also be used to drench the soil, reaching any eggs or adults that might be lurking in there. Yellow sticky pads are very good at attracting and killing fungus gnats, but they only get the adults; you’ll still need to kill the eggs buried in the soil.

The life cycle of plant pests, from egg to adult, ranges depending on the type—from a very quick 20–40 days for thrips, to 60–90 days for mealybugs. In most cases it will take several treatments to eradicate the pests, because it’s almost impossible get them all at once. If you find it’s too difficult to keep up with treatment or you just can’t get rid of them, it might be time to dispose of the plant. If you have to sacrifice one to save the many, do it. It’s better than having a full-on infestation hitting your entire plant collection.
3. Incorrect lighting
After overwatering, this is probably the most common mistake. Maybe you see a plant you just have to have, and instead of putting it in a spot where it’ll get its ideal light requirement, you display it wherever you think it looks best.
Not a good idea. When choosing a spot for a plant, the biggest factor to take into consideration is light. Locating plants that require high light, such as hoyas or fiddle leaf figs, in a gloomy corner several feet away from a window is eventually going to cause its demise. On the flip side, low-light plants that are given too much sun will become crispy, develop scorch marks, and suffer. When you bring a new plant home, learn what its light requirements are and try to situate it in the best possible place to help it thrive.
Measuring light exposure
Houseplants are usually categorized as requiring low, medium, or high light, and you’ll see the term “bright indirect light” a lot. But what does that mean exactly? Direct light means the sun’s rays shine right on the plant; indirect means ambient light, with no sun directly shining on the plant. Put another way: if your plant had eyes, could it see the sun? If so, it gets direct sun.

Light is most accurately measured in foot candles (FC), and you’ll need a light meter or app to calculate it. Based on what type of light your plant needs, use this breakdown:
- Low = 100–200 FC
- Med = 200–400 FC
- High = 400–800 FC
Determining what the light exposure is in a particular location without using a light meter or app involves many different factors: time of day, proximity to a window, size of the window, shade or obstruction from outside, which direction the window faces, and time of year. This will give you a very general idea on how to determine if a location is suitable:
- high/bright light: 5–6 hours direct sunlight per day in a west or south facing window
- bright indirect light: a bright spot close to a window, at least 4 hours of light per day, but not direct sun
- medium light: in an east facing window, or 3–6 feet from a south or west facing window, no direct sun
- low light: in a north facing window, an interior room, or several feet from any window

It’s important to note that low light doesn’t mean no light; all plants need some light to photosynthesize. Some trial and error may be needed in order to find the right place for your plant; the majority will be very happy with bright indirect light.
If you just have to have that bird of paradise but can’t provide the light it needs naturally, try a grow light. There are many LED options on the market these days that are not only affordable but attractive, and won’t make it look like you’re running a hydroponic operation.
4. Using pots without drainage holes
There are a lot of cute pots out there; I get it. You’ve got your eye on a planter that would look perfect in your space, but it doesn’t have drainage holes. It’s tempting to choose form over function, but use pots with drainage holes—it’s so much better for your plant’s overall health. The holes allow water to drain properly, so that the roots aren’t sitting in wet soil for too long. As talked about in overwatering, root rot is a plant killer.
There are lots of nice planters that do come with drainage holes and sometimes a matching saucer, but you can still buy that cute planter without holes if you want. Just keep the plant inside the grower pot it came in (that should definitely have drainage holes), and use the other planter as a decorative cover pot. When it’s time to water, pop the grower pot out of the cover pot, water, let drain, and return it to the cover pot.

Use well-draining soil
Using soil that drains well is really important, and potting soil straight from the bag is typically not great for this. It holds too much moisture, causing the soil to stay wet for longer than it should. Amending the bagged soil with perlite and/or orchid bark gives it a chunky texture with lots of the little air pockets that roots need to survive, and offers better drainage. I use a ratio of 2 parts potting mix, 1 part perlite, and 1 part orchid bark. This makes a good all-purpose mixture, and I use it for all of my plants.

If you want to get fancy, you can water with distilled or rainwater, but tap water is fine for most plants. The best way to water is to bring the plant to the sink and soak it thoroughly, making sure you get the entire top surface wet. You can do this 2 or 3 times to make sure all the soil gets saturated. Water enough that it comes out of the drainage holes, and wait for it to stop before putting it back on its saucer or back inside the cover pot. You don’t want the plant sitting in a puddle of water. As for the water temperature—don’t give them ice cold water! You might like a cold plunge, but your plant definitely doesn’t. Use tepid or lukewarm water instead to avoid giving them a shock.
5. Not fertilizing
Typical potting mix contains very little in the way of nutrients that contribute to plant health. Even if it has fertilizer mixed in, those nutrients will deplete within months, leaching out from frequent watering. In time, leaves will grow smaller, overall growth becomes slowed or stalled, and leaves will look pale. Plants need three main nutrients for continued health:
- Nitrogen (N)—responsible for dark green colour, leaf growth, and production of chlorophyll
- Phosphorus (P)—stimulates root growth, flowering, and seed development
- Potassium (K)—essential for photosynthesis, and sugars and water movement through the plant
Synthetic fertilizers
Synthetic fertilizer is labelled with the ratio of these three elements (always in the order NPK): 10-10-10 is a common one, and the numbers mean there are equal parts of each element. This is fine to use, but for most houseplants, a higher nitrogen number is even better since you’ll mostly want to give that green, leafy growth a boost. Look for a fertilizer with a higher first number (the N), such as 3-1-2.

There are a couple of different methods you can use to fertilize your plants:
Concentrated liquid or powder is mixed into water, and easily applied with a watering can; feed plants every 3-4 weeks.
Slow-release pellets or spikes are placed into the soil, with fertilizer released each time the plant is watered; these typically last several weeks to several months before they need to be replaced.
Organic fertilizers
Organic fertilizers don’t use the NPK ratio. They can be made from seaweed, worm castings, bone meal, kelp, or fish emulsion. Organics are most commonly available in liquid form, but can also be spikes or powders. Organic fertilizers are a bit gentler on plant roots than synthetic, but often have a strong, unpleasant scent (especially on opening a new bottle—be warned).
Feed plants during the active growing season, typically April through October, and hold off throughout the winter, when growth slows down considerably and plants go semi-dormant. Avoid overfertilizing, which is worse than not fertilizing at all; too much can harm the roots and leaves. Follow the directions of whichever product you’re using, and err on the side of caution: less is more.
October 27, 2026
Leave a Reply